




介绍
本指南旨在向您展示如何使用 HelloSign API 通过 ASP.NET MVC 发送和签署文档。
HelloSign 是一项允许您签署文件的服务,可用于使协议合法化、准备合同等。
对于用户来说,主要的优势是能够通过计算机、平板电脑或智能手机进行签名。
本教程旨在展示一个使用 API 的简单示例,该示例没有太大的复杂性,但可以提供的用途却更加广泛。
在本教程中,我们将使用:
- ASP.NET MVC 4
- HelloSign SDK (C#)
在 HelloSign 注册
我们访问 https://www.hellosign.com/ 并创建一个免费帐户。
然后我们访问“API”部分并获取 API 密钥。
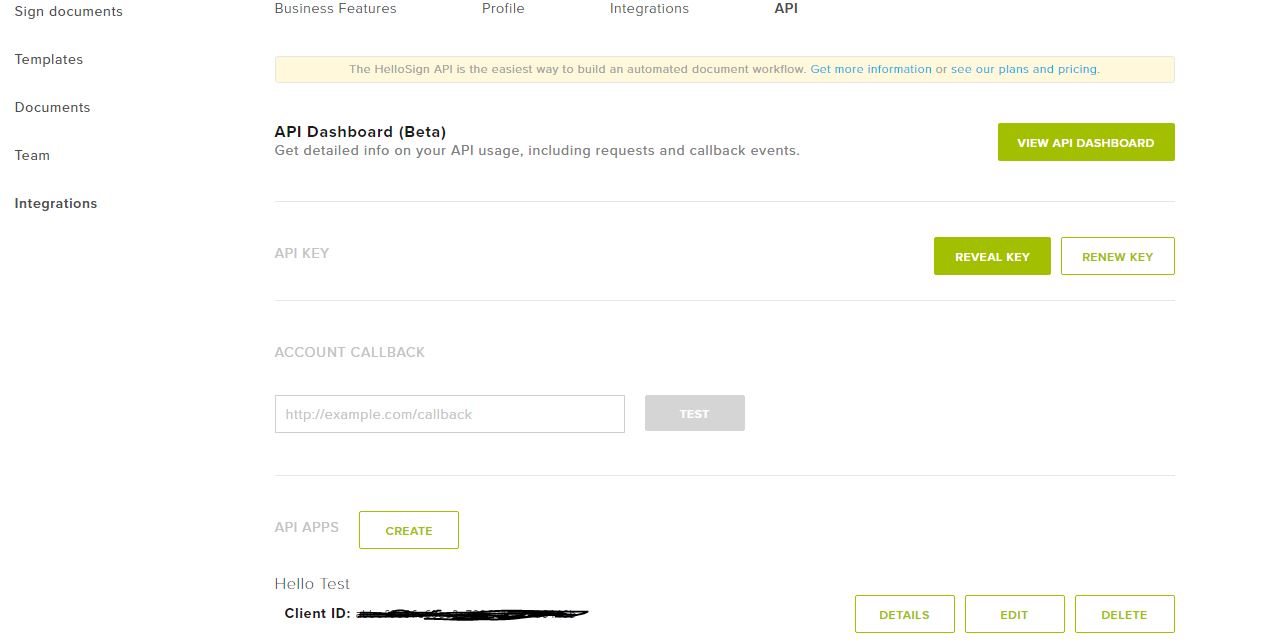
现在我们为客户端 ID 创建一个应用程序
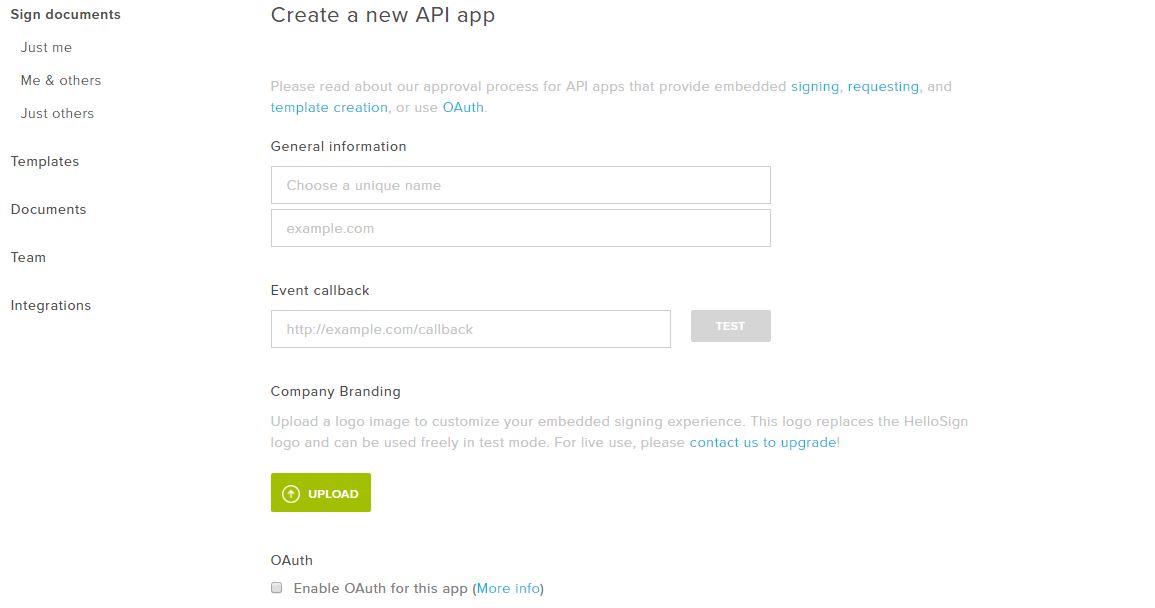
配置工具
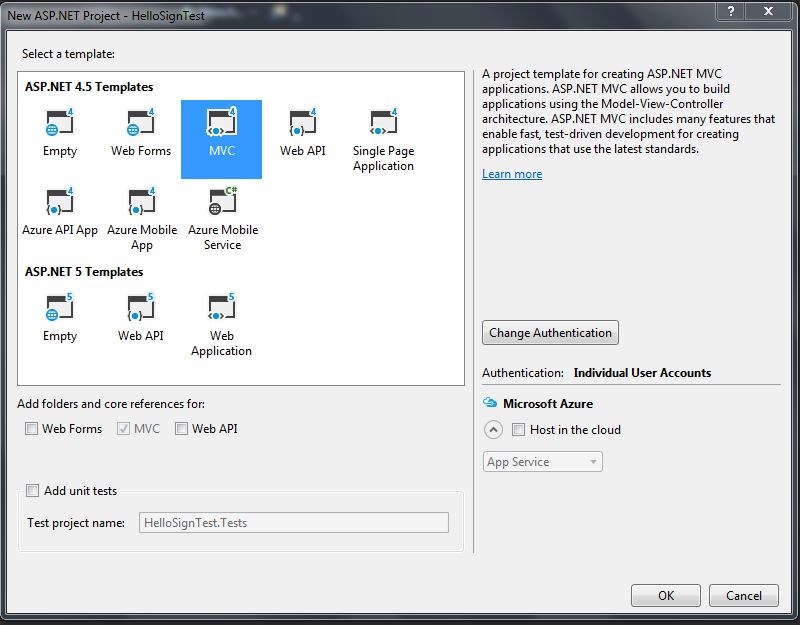
首先,我们需要使用 Visual Studio(最好是 2015 版)创建一个项目。我们选择一个 ASP.NET 项目(在这种情况下,我们不需要更大的配置)。
然后我们通过NuGet安装HelloSign SDK:
Install-Package HelloSign
开发表单来上传文件
我们创建一个名为BaseController的控制器,用于存储 API 密钥和客户端 ID
      public class BaseController : Controller
{
    protected string HelloSignAPIKey = ConfigurationManager.AppSettings["HelloSignAPIKey"];
    protected string HelloSignClientID = ConfigurationManager.AppSettings["HelloSignClientID"];
}
然后我们创建一个名为SignController的控制器,它继承自我们的基础控制器。在我们的控制器中,我们将创建一个名为SendDocument的 GET 动作:
      public ActionResult SendDocument()
{
    SendDocumentViewModel model = new SendDocumentViewModel();
    return View(model);
}
我们添加SendDocumentFormModel和SendDocumentViewModel类来从视图发送和接收数据
      public class SendDocumentFormModel
{
    [Required]
    public string Subject { get; set; }

    [Required]
    public string Message { get; set; }

    [Required]
    [DisplayName("Signer Email")]
    public string SignerEmail { get; set; }

    [Required]
    [DisplayName("Signer Name")]
    public string SignerName { get; set; }

    [Required]
    public HttpPostedFileBase File { get; set; }

}
      public class SendDocumentViewModel
{
    public SendDocumentFormModel Form { get; set; }
}
现在我们为 SendDocument 创建 POST 动作。
      HttpPost]
public ActionResult SendDocument(SendDocumentFormModel Form)
{
    if(!ModelState.IsValid)
    {
        SendDocumentViewModel model = new SendDocumentViewModel();
        model.Form = Form;
        return View(model);
    }
    var client = new Client(HelloSignAPIKey);
    var request = new SignatureRequest();
    request.Subject = Form.Subject;
    request.Message = Form.Message;
    request.AddSigner(Form.SignerEmail
发送文档的响应将是一个包含待签名嵌入文件的 URL。
为了完成我们的表格,我们创建了上传文件的视图。
      @using (Html.BeginForm(null,null,FormMethod.Post,new {enctype="multipart/form-data" }))
{

    <div class="form-horizontal">
        <hr />
        @Html.ValidationSummary(true, "", new { @class = "text-danger" })
        <div class="form-group">
            @Html.LabelFor(model => model.Form.Subject, htmlAttributes: new { @class = "control-label col-md-2" })
            <div class="col-md-10">
                @Html.EditorFor(model => model.Form.Subject, new { htmlAttributes = new { @class = "form-control" } })
                @Html.ValidationMessageFor(model => model.Form.Subject, "", new { @class = "text-danger" })
            </div>
        </div>

        <div class="form-group">
            @Html.LabelFor(model => model.Form.Message, htmlAttributes: new { @class = "control-label col-md-2" })
            <div class="col-md-10">
                @Html.EditorFor(model => model.Form.Message, new { htmlAttributes = new { @class = "form-control" } })
                @Html.ValidationMessageFor(model => model.Form.Message, "", new { @class = "text-danger" })
            </div>
        </div>

        <div class="form-group">
            @Html.LabelFor(model => model.Form.SignerEmail, htmlAttributes: new { @class = "control-label col-md-2" })
            <div class="col-md-10">
                @Html.EditorFor(model => model.Form.SignerEmail, new { htmlAttributes = new { @class = "form-control", type="email" } })
                @Html.ValidationMessageFor(model => model.Form.SignerEmail, "", new { @class = "text-danger" })
            </div>
        </div>

        <div class="form-group">
            @Html.LabelFor(model => model.Form.SignerName, htmlAttributes: new { @class = "control-label col-md-2" })
            <div class="col-md-10">
                @Html.EditorFor(model => model.Form.SignerName, new { htmlAttributes = new { @class = "form-control" } })
                @Html.ValidationMessageFor(model => model.Form.SignerName, "", new { @class = "text-danger" })
            </div>
        </div>
        <div class="form-group">
            @Html.LabelFor(model => model.Form.File, htmlAttributes: new { @class = "control-label col-md-2" })
            <div class="col-md-10">
                <input type="file" name="Form.File" class = "form-control" />
                @Html.ValidationMessageFor(model => model.Form.File, "", new { @class = "text-danger" })
            </div>
        </div>

        <div class="form-group">
            <div class="col-md-offset-2 col-md-10">
                <input type="submit" value="Create" class="btn btn-default" />
            </div>
        </div>
    </div>
}
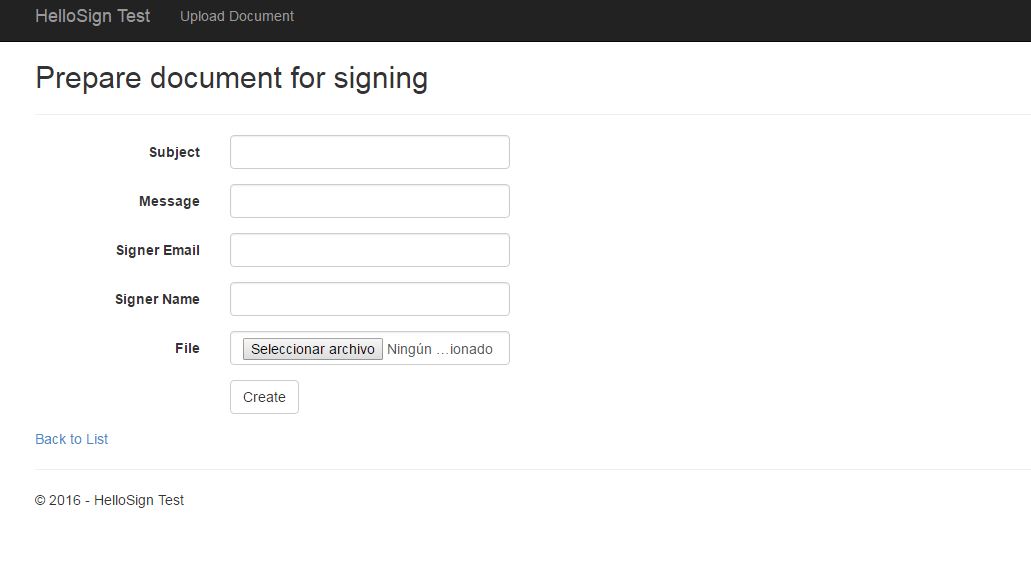
我们的视图应类似于以下内容:
开发签署文件的视图
与往常一样,我们首先在 SignController 中创建动作:
      public ActionResult Sign(string url)
{
    ViewBag.Url = url;
    ViewBag.ClientId = HelloSignClientID;
    return View();
}
现在,我们的观点是“标志”。
      <p>Sign document.</p>


<script type="text/javascript" src="https://s3.amazonaws.com/cdn.hellosign.com/public/js/hellosign-embedded.LATEST.min.js"></script>
<script type="text/javascript">
    HelloSign.init("@ViewBag.ClientId");
    HelloSign.open({
        url: '@ViewBag.Url',
        allowCancel: true,
        skipDomainVerification : false
    });
</script>
在此视图中,我们仅添加 javascript 代码。第一行调用最新版本的 HelloSign,第二行初始化 HelloSign 并将我们的文档作为嵌入文件打开。
通过在表单上上传我们的文件,如果一切有效,应该显示以下视图,并准备好签署文件。
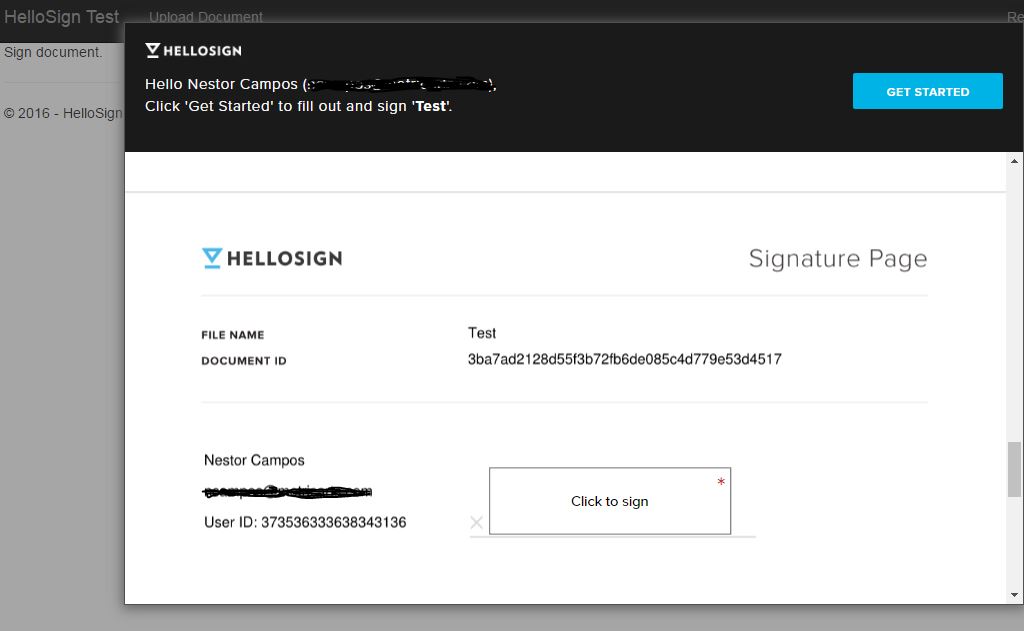
最后我们点击“点击签名”即可签名并完成整个流程。
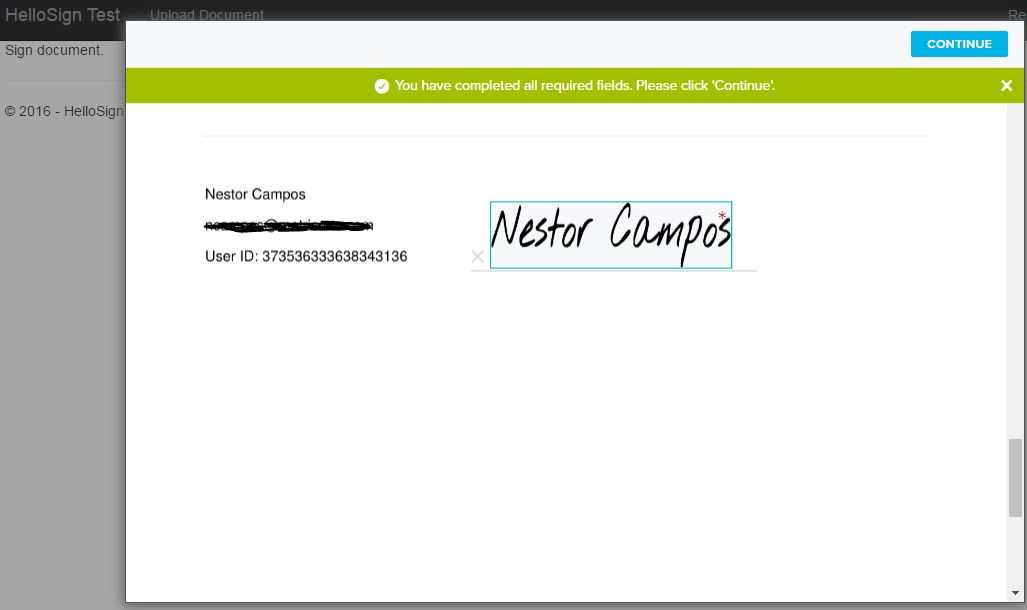
此示例展示了 HelloSign SDK for C# 的基本用法,它可用于发送带有链接的电子邮件到我们的应用程序以签署文档等。
免责声明:本内容来源于第三方作者授权、网友推荐或互联网整理,旨在为广大用户提供学习与参考之用。所有文本和图片版权归原创网站或作者本人所有,其观点并不代表本站立场。如有任何版权侵犯或转载不当之情况,请与我们取得联系,我们将尽快进行相关处理与修改。感谢您的理解与支持!